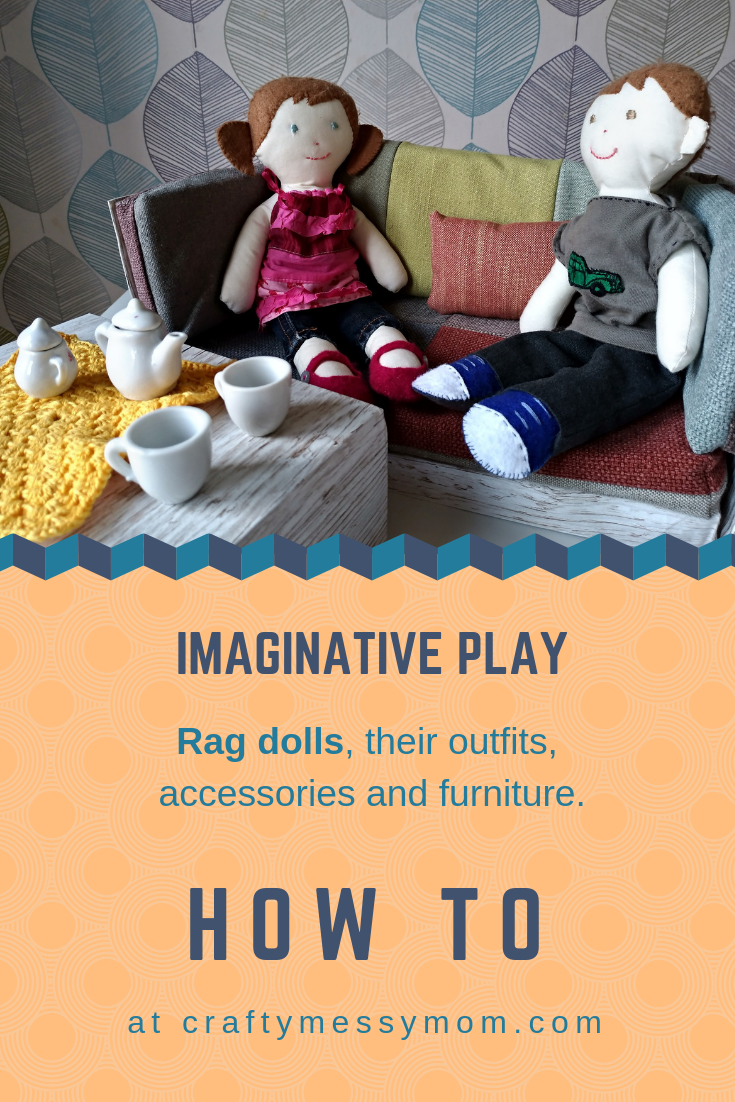

I introduce my little girl’s new friends, Bella and Lollino: “Nice to meet you!”
I made them last spring, giving me “by mid-June” deadline, I mean the date of arrival of my young niece from Rome. I wished to give her a rag-doll with an essential wardrobe of clothes and accessories. Of course, also my daughter’s twin doll had to be ready for that date, otherwise who would have heard them quarrelling? Then, the “twin” Lollino was born.
I really enjoyed making these “bimboline” (as my little girl calls them in Italianish) and their clothes. I consider it a never-ending gift because over time it can be enriched with a variety of accessories and outfits.
After a few months, a present from a friend, an upholstery fabric sample book in soft warm colours and nicely textured inspired me the cover for a dolls sofa.
Rag dolls and their accessories and furniture represent a priceless open-ended toy as it encourages the imagination, pretend play and helps fine motor skills, such as dress-undress dolls, fasten snaps and buttons.
How to make
Rag dolls, clothes and accessories
For the doll body, clothes and accessories I followed the patterns in the book Crafty Creations by Jane Bull, DK 2016, section Lottie rag dolls. The author, a very very skilled crafter, explains in her book how to sew, crochet and knit over 50 different lovely characters.
Dolls outfits for every occasion…


“The cold has arrived, the dolls need some winter outfits”, my daughter told me. Soon at craftymessymom.com?
In the meantime, I created for them a cosy couch. Here is how I did it.
Dolls’ patchwork sofa
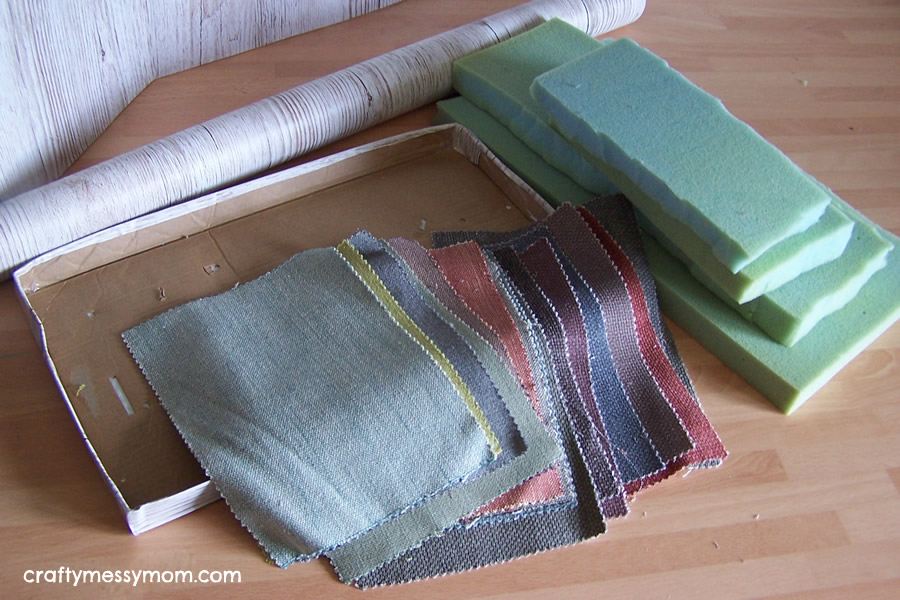
Materials
- a box (I used a toy three-side box)
- deco self-adhesive vinyl film (I used Pino Aurelio
-like woodgrain)
- upholstery foam scraps (2.5 cm thick)
- upholstery fabric samples
- a few stuffing
Tools
- sewing machine
- dressmaking scissors
- glue/ bi-adhesive tape
Directions
Step 1 – Build and finish the structure
My box already had the shape of the structure of a sofa, so I just separated the two parts – sides and base – that I covered with adhesive vinyl film to give the structure a nice and real finishing. Then I reassembled the two parts.
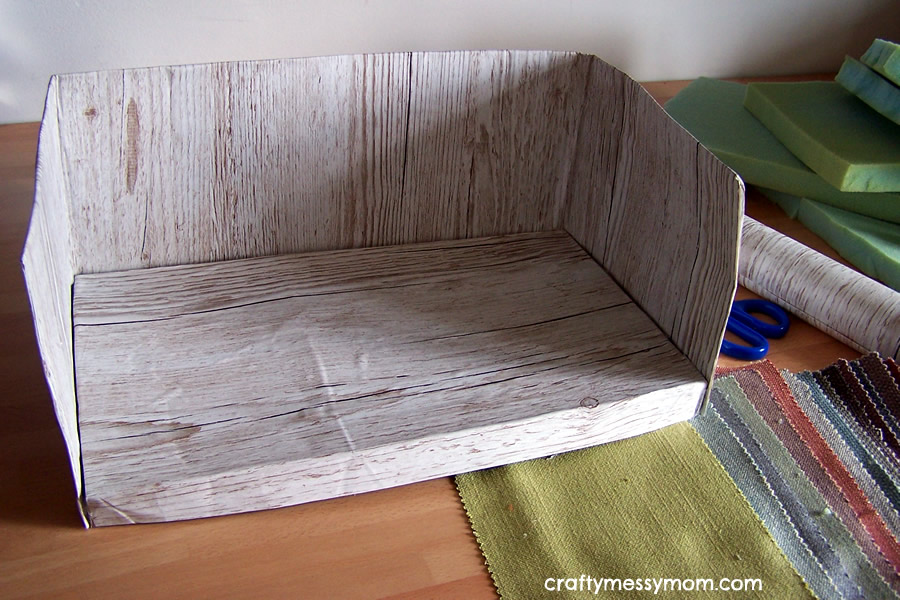
If you have a shoe box, use the lid as a base and remove one of the two long sides from the box. Join the two parts with tape (or glue) and then cover all the surface with self-adhesive vinyl film.
Step 2 – Make it soft
Cut four pieces out of a sheet of upholstery foam – seat, back and two armrests – matching your box dimensions. Sizes:
- back: same dimensions of the long side of the box
- seat: dimensions of the base of the box but short side 2.5 cm shorter
- 2 armrests: dimensions of the short sides of the box, both 2.5 cm shorter
Step 3 – Cover it
I used all the upholstery fabric scraps to form four patchwork covers. I juxtaposed the pieces following my personal colour combination preference (a). At first, I basted the pieces to form a pillowcase (b) and then sewed them (c). Remember to keep one side open!


I obtained four flat pillowcases. To give them the 3D shape of a parallelogram I made a short transversal seam on the reverse side in the corners opposite to the opening (d). I overturned the pillowcases (e) and I inserted the foam cushions from the non-sewn side (f). I closed the pillowcase with hand stitches (g).


Step 4 – Extra softness
With the only leftover fabric piece I made the lining of a pillow that I then filled with a few stuffing.


Step 5 – Assemble it!
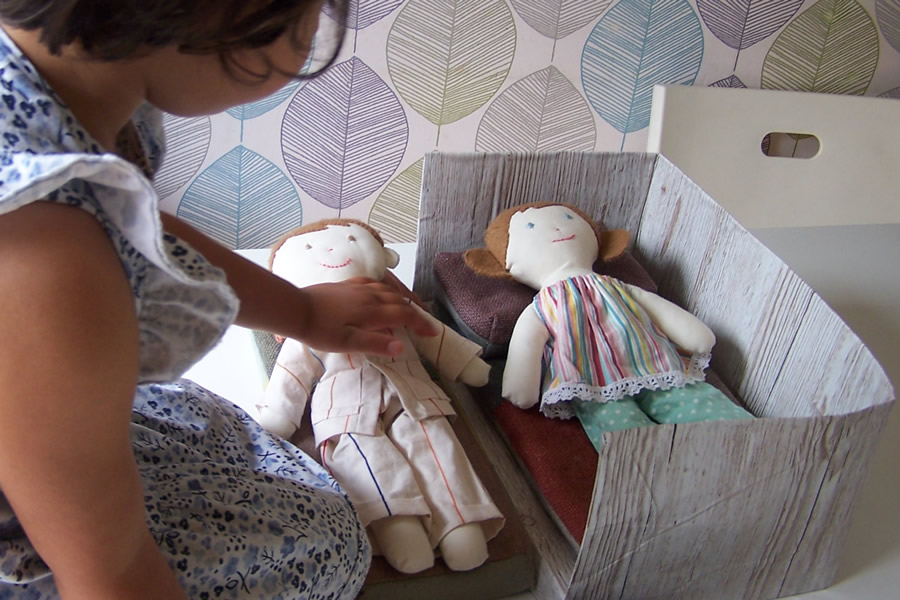
Since each side of the cover is different, my little girl enjoys assembling the sofa cushions in the colours she liked the most.


Not only. She also turned her mini-sofa into two single beds for her two dolls. I didn’t think about this possibility… she did!
Maybe a nice and warm granny square blanket will come, who knows…
Follow my blog and you’ll find out!
Let’s get social!
Join in the conversation and see the latest Craftymessymom’s updates on Facebook and Instagram. Find Craftymessymom on Pinterest too!