
Barbie’s time has arrived in our home! Or shall I say “Barbies”? When I was a child I had only one Barbie doll, but nowadays to have a crew of them is a must…
I enjoyed making a cardboard box house for Barbie with the help of my little daughter. She had fun cutting cardboard, sticking double sided tape, gluing the wallpaper and colouring the walls… Lots of fine motor skill practice for her little hands!
There are several ways you can build a cute house for dolls. Here I will show our colourful version!
I tagged this post as “recycling” and “up-cycled” project because we mostly used recycled stuff we had at home such as cardboard boxes, old magazines and catalogues, scraps of paper, food boxes…
I only bought lovely miniature of furniture and accessories, such as a chest of drawers, a lamp, a bin, pallets, suitcases, a bucket, cleaning accessories, to make the house look more realistic!
Our Barbie’s house is a comfy 1-bedroom house with a dining room, a kitchen, a bathroom and a loft that can be used as a second bedroom.

You will need

- A big cardboard box (ours was narrow and tall)
- 2 smaller cardboard boxes for side rooms
- Small boxes in different sizes for furniture and appliances
- Deco self-adhesive vinyl film (floral for the columns, wood-like for the floor)
- Decorative paper
- Furniture catalogues
- Coloured duct tape
Tools
- Acrylic/tempera paint and brushes
- Scissors
- Glue
- Double-sided tape
How to make
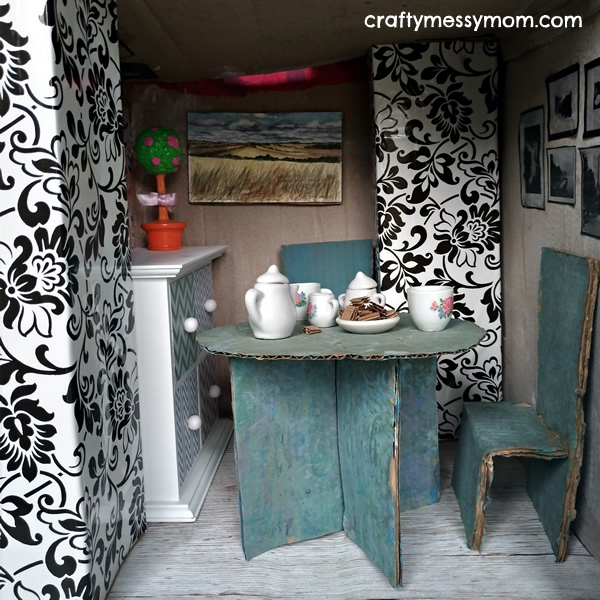
The dining room has a round table with two chairs, both made of cardboard. There is a chest of drawers too. The pictures on the left come from an Ikea catalogue and the other painting is a mini watercolour landscape of mine! The two columns are breadstick boxes covered with floral self-adhesive vinyl film.

Here is how to make a chair.


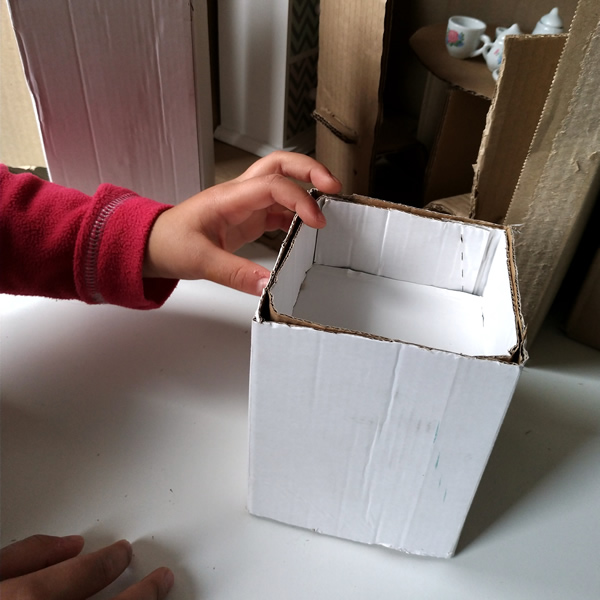
The kitchen has a fridge and an oven with gas hob, which becomes a sink if turned upside down, both made of small boxes. A catalogue of wall paints gave me inspiration – and material! – for the wallpaper, which adds depth and detail to the tiny room.
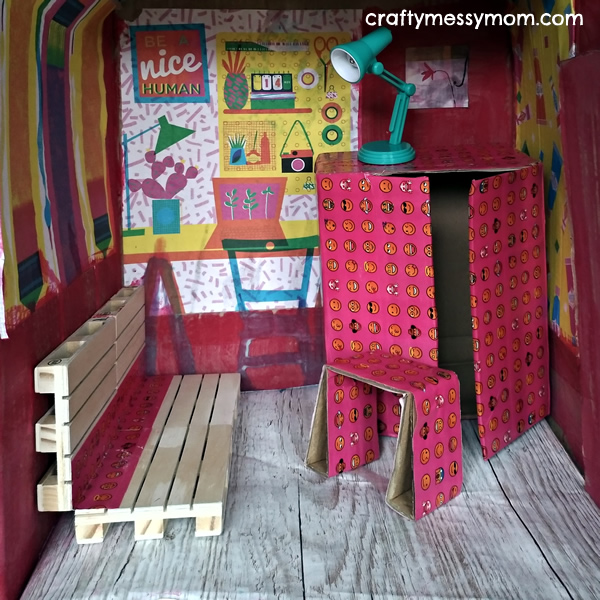

The living room has a sofa made of 4 miniature wooden pallets, attached 2 by 2 with a stripe of duct tape. They can be flattened and used as a bed, if aligned. There is also a wardrobe, a stool and a lamp. As wallpaper we glued decorative paper from a craft magazine. The living room turns into a bedroom!
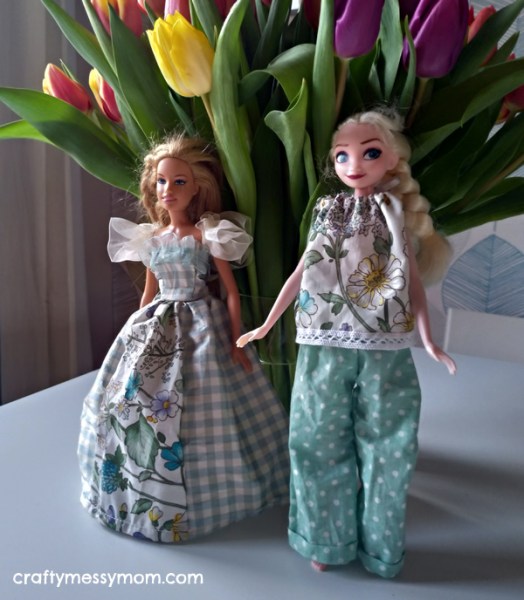
Very soon the wardrobe will be full of Barbie’s clothes that I am making as a present for my kids (yes, both, because my elder son hates seeing Barbie naked…😉). Here are a princess dress and a cosy pyjama. Other ideas and patterns in the brilliant book by Annabel Benilan “Sewing clothes for Barbie: 24 stylish outfits for fashion dolls”, Search Press, 2017.

In the bathroom we put a shower box and a small wall cabinet. Have you noticed the bathrobe hung in the bathroom? In the next posts I will share how to make it from a bath mitt! Coming soon, follow me!
For a cosy and minimalist accommodation for Barbie, check out the post Cardboard box studio flat convertible from day to night mode in a few simple steps!

Let’s get social!
Join in the conversation and see the latest Craftymessymom’s updates at instagram.com/craftymessymom and facebook.com/craftymessymom. Find Craftymessymom on Pinterest too!


