
Lino Printing is a form of relief printing that involves two main processes: lino-cutting and ink-printing. The first one consists in carving a pattern or design into a linoleum sheet (lino for short), which then is printed, in the so-called ink-printing process.
I love this art technique; I find the process of carving relaxing and the phase of printing very satisfying. I discovered it at the beginning of 2019 when I started attending art therapy sessions during which I could practice carving and explore the use and the effect of different coloured inks and masks.
It takes a lot of concentration and a skilled hand to carve detailed designs on lino, but it is possible to start with simple designs.
I found very useful this book: “Beginner’s guide to linocut” by Susan Yeates, Search press, where the author describes ten print projects with top techniques to get you started.
You will need
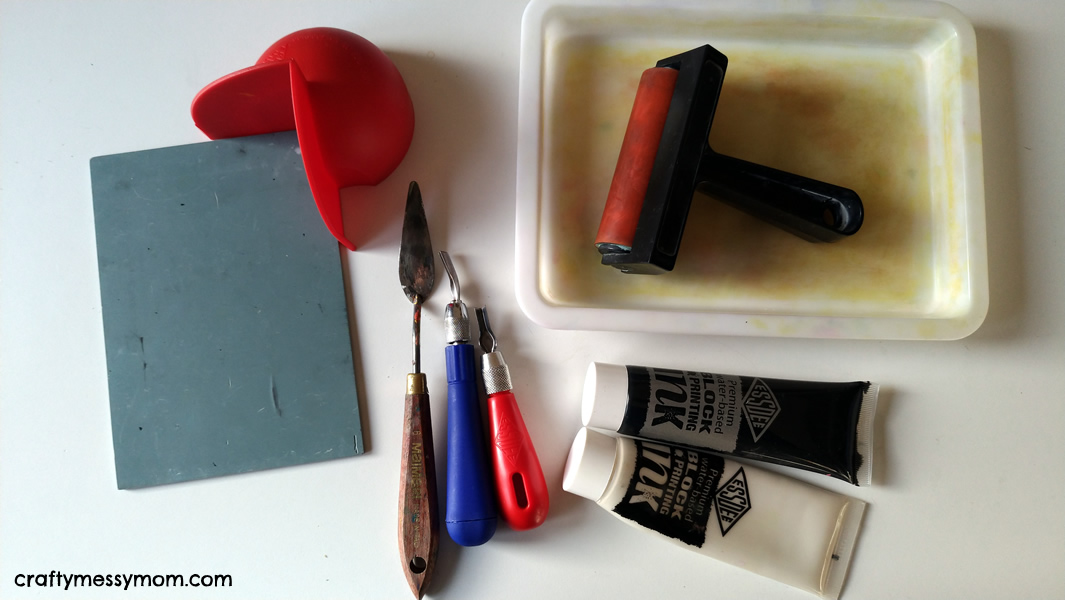
The basic material and tools you need are:
Linoleum (lino) – the material to carve; it can be in different sizes and colours.
Cutting tools – they can have U or V shape.
Roller – the tool to roll out the ink onto a smooth surface and to transfer the ink onto the lino.
Inks for relief printing – they are water-based, soluble with water, safe to use and to clean with water, quick drying.
Glass or plastic glass surface – to roll out the ink and protect the table.
Burnishing tool – to rub the back of the paper to transfer the ink onto the paper. A wooden spoon also works.
Printing paper – not too thick. A thickness of 120-250 gsm is advised.
Palette knife – to spread the ink on the glass/ plastic glass.
Little paintbrush or cotton bud – to remove any excess of ink and correct little mistakes.
Hand guard – useful tool, especially for beginners.
Steps
As well described by the author of the book above, the steps of lino printing are: draw, cut, print, repeat.
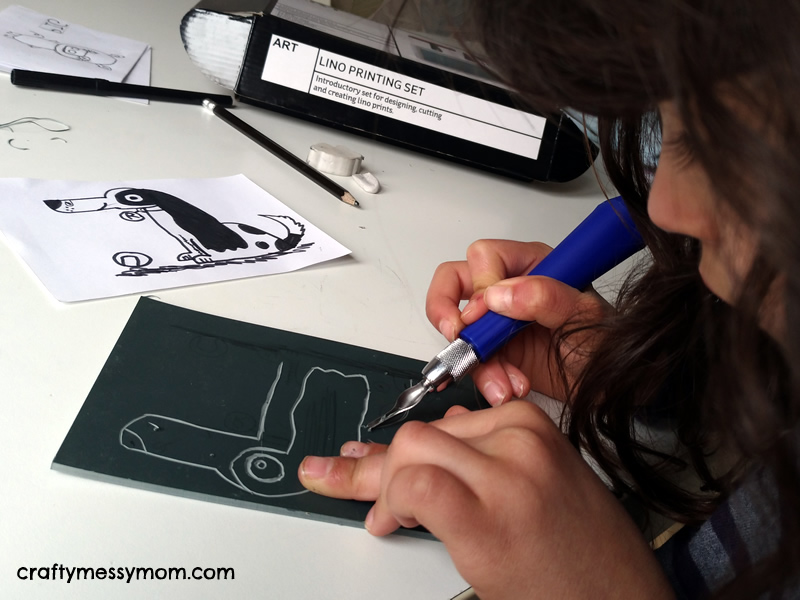
Draw
A drawing is prepared in advance and transferred onto the lino block. It is possible to draw directly on the surface with a pen/pencil or copy it using tracing paper and carbon paper. It is important to flip the drawing: it needs to be a specular image of the final result.
Cut
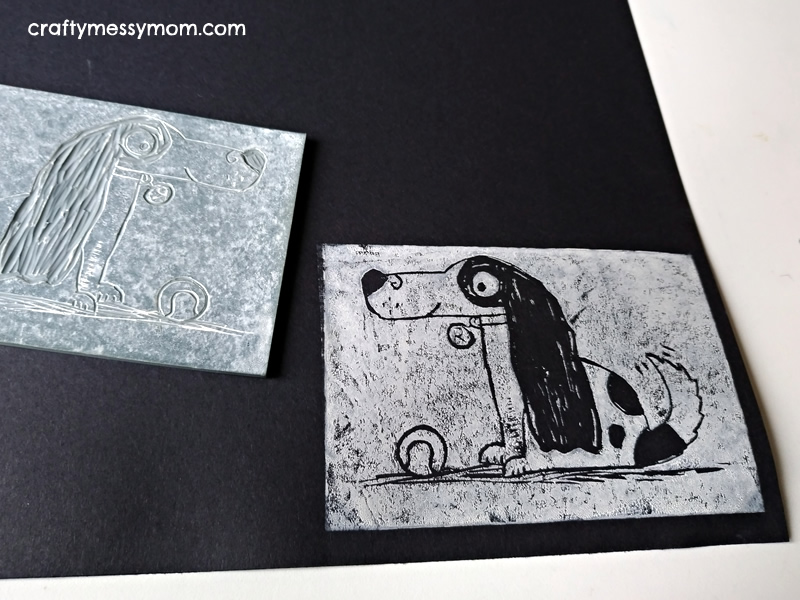
The lino block is carved using metal U-shape or V-shape tools. The principle is to cut away the surface that you don’t want to print.
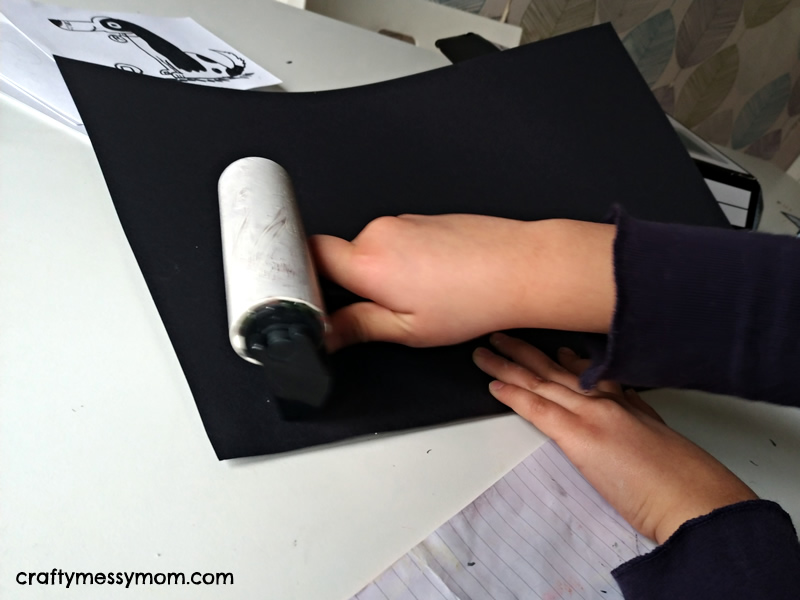
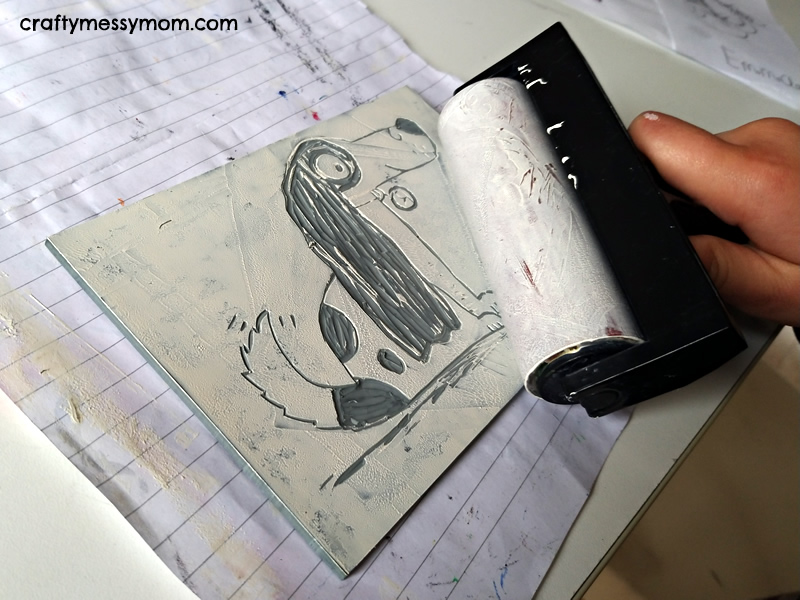
Once the carving has been made, the lino block is covered in ink using a roller. The block is printed onto the paper.
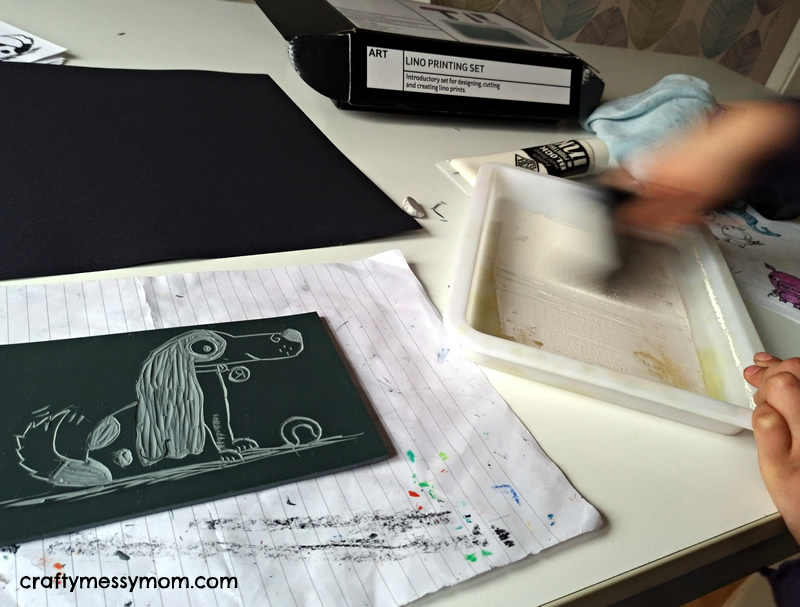

Repeat
The lino block can be inked more times to produce a series of prints.
Useful exercises
As the author suggests, to make a pattern sampler is useful to learn to control the cutting tools and exploring patterns, shapes and forms. I create a simple design for my son, to get him used with different tools and various marks.

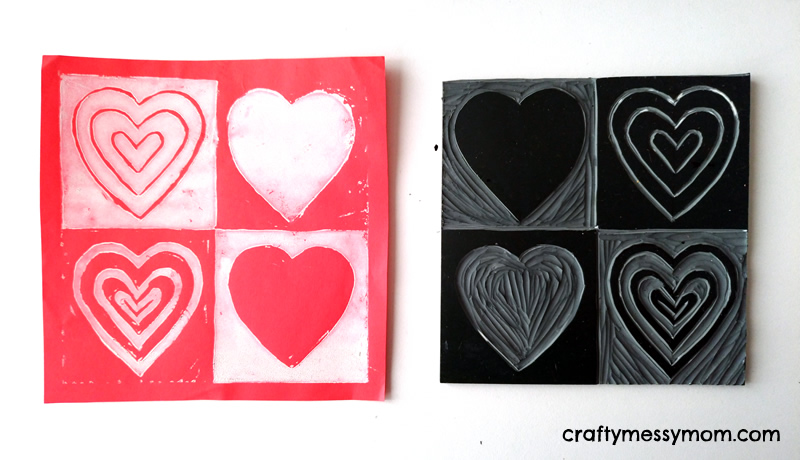
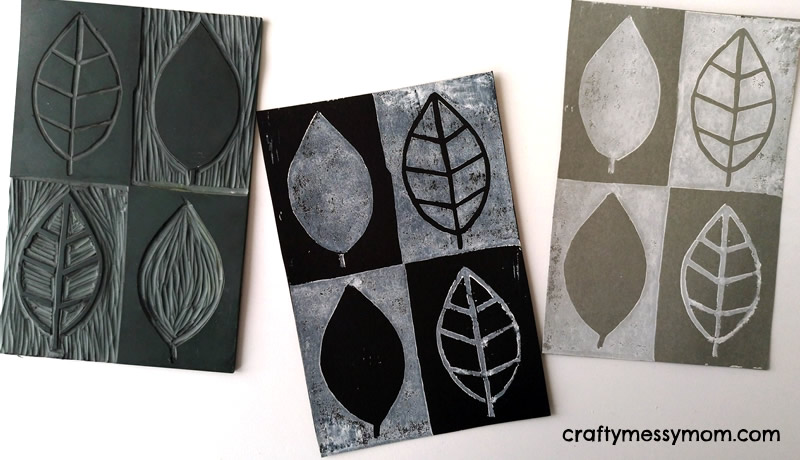
It is a very helpful exercise to understand the 4 different ways to carve: white line, black line, negative, positive.
- white line: when you cut away only the drawn lines
- black line: when you cut away everything except from the lines, including the background
- negative: when you cut inside your drawn lines
- positive: when you cut outsides the drawn lines and cut away the background.
I tried with hearts and leaves.
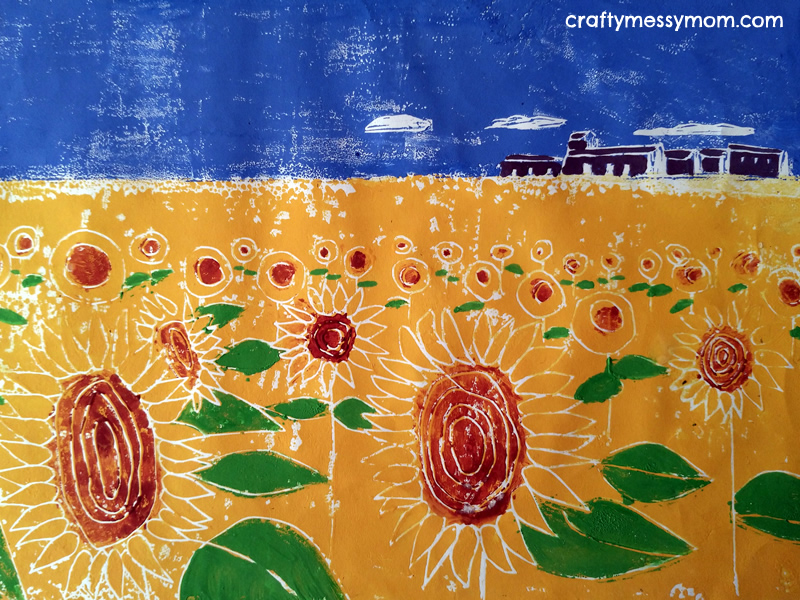
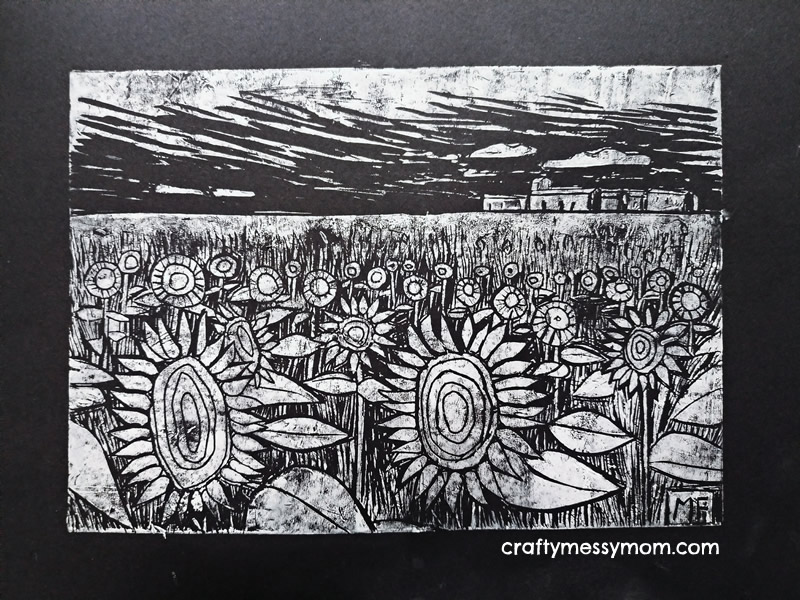
Here some early creations of mine, a remake of a Van Gogh painting (it is specular because I forgot to flip the original drawing!), where I used masks to add different colours to a print, and a field of sunflowers carved with the help of the artist Svetlana Atlavina, a coloured and a black-and-white version.

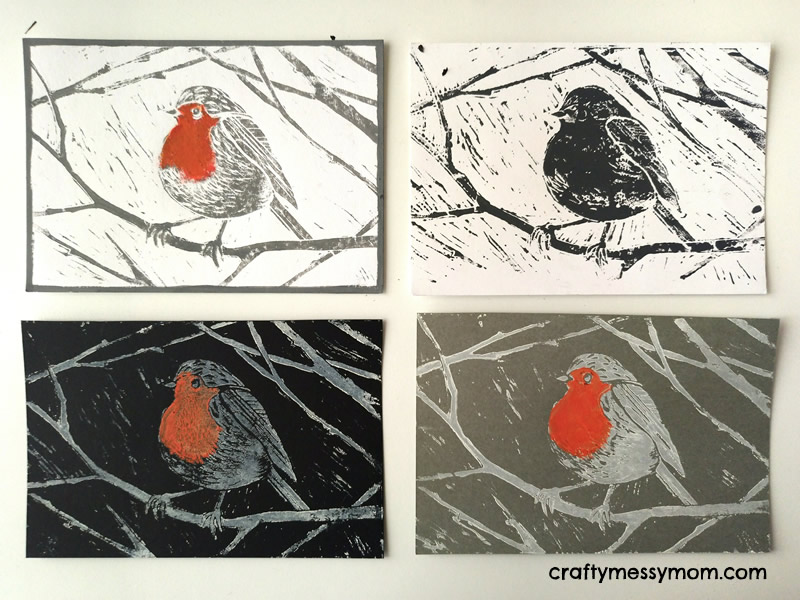
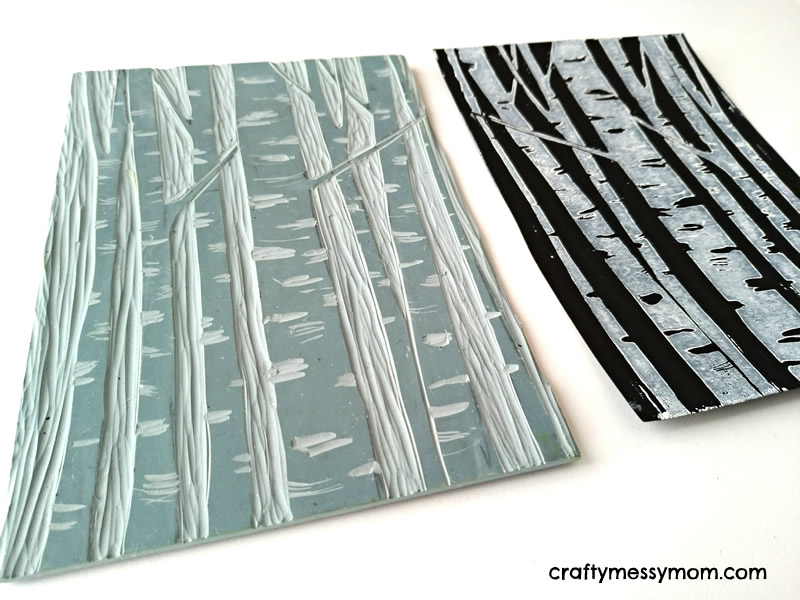
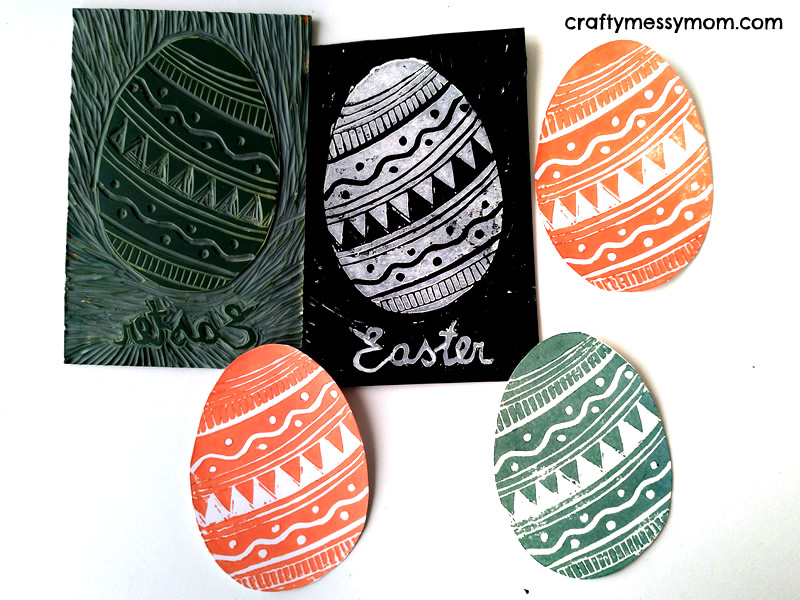
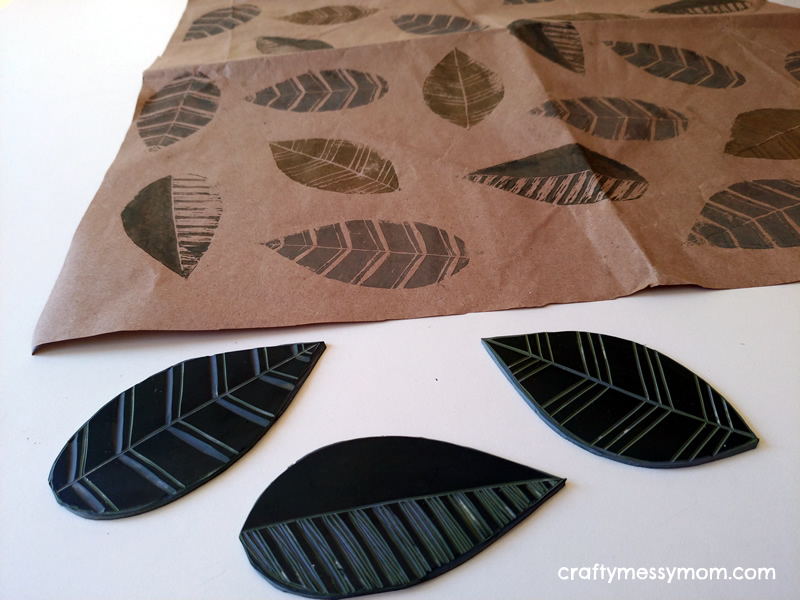
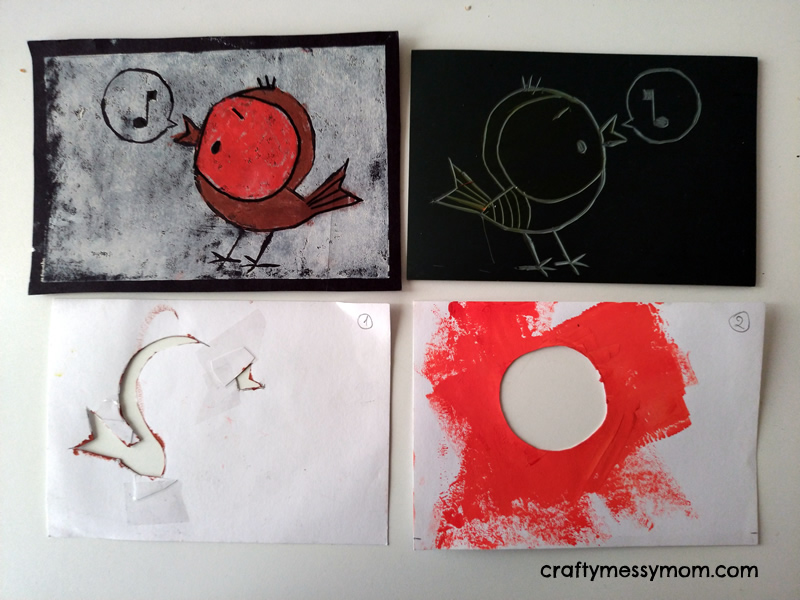
I am also showing you some recent designs (2021) when I re-discovered the passion for this technique: variations of a robin, birches, greeting cards, a portrait, wrapping paper with leaves.

If you think I am quite good at ink printing, head over this artist’s website, InkyDogStudio, to admire her creativity and perfect, detailed ink prints!
Activity for kids: easy lino printing
I made for my teenage son a pattern of lines, curved and straight, that he carved very carefully (see pattern sampler above). Then he felt ready for his own designs… Here they are!

With my 6 years old girl I choose very simple designs, inspired by the author and illustrator of children’s books Rob Biddulph that she loves! We used the carving tools with two hands, mine and hers together, following the white line cutting method (cut away only the drawn lines).
We experimented also using masks to add different colours: first white, then brown and finally red.
Here her outcomes! All her friends will have a personalised birthday card!

Interested in a personalised ink-printed design? Don’t hesitate to contact me!
For my latest artworks head over to my artistic accounts on Instagram and Facebook.
Let’s get social!
Join in the conversation and see the latest Craftymessymom’s updates at instagram.com/craftymessymom and facebook.com/craftymessymom. Find Craftymessymom on Pinterest tooo!

